
Making integrations easier: Introducing the Device Simulator

We're excited to introduce our latest feature: the Device Simulator. This was one of the most requested features by our customers and it's finally live! This powerful tool enables developers to simulate end-to-end user flows, providing a comprehensive testing environment for device and account states without relying on real devices for testing. The best part? it works across all device types - EVs, Chargers, HVACs, Inverters and Batteries!
Consider the simulator flow like any other OEM :
Create OEM account → Add device(s) to your account → Query data or issue commands to the device via API
Key Features
🔄 Update Device Status
With the Device Simulator, you have the ability to change the state of each device. This can help you test your business logic for different edge cases. Changing state of device also triggers Webhooks, allowing you to handle events in real-time. By modifying device statuses, you can simulate different scenarios and thoroughly test the responsiveness of your applications.
🚗🔌🔋 Create Multiple Devices
You can now create multiple devices of different types in the simulator, enabling you to test the "user.devices-connected" event thoroughly.
Getting Started
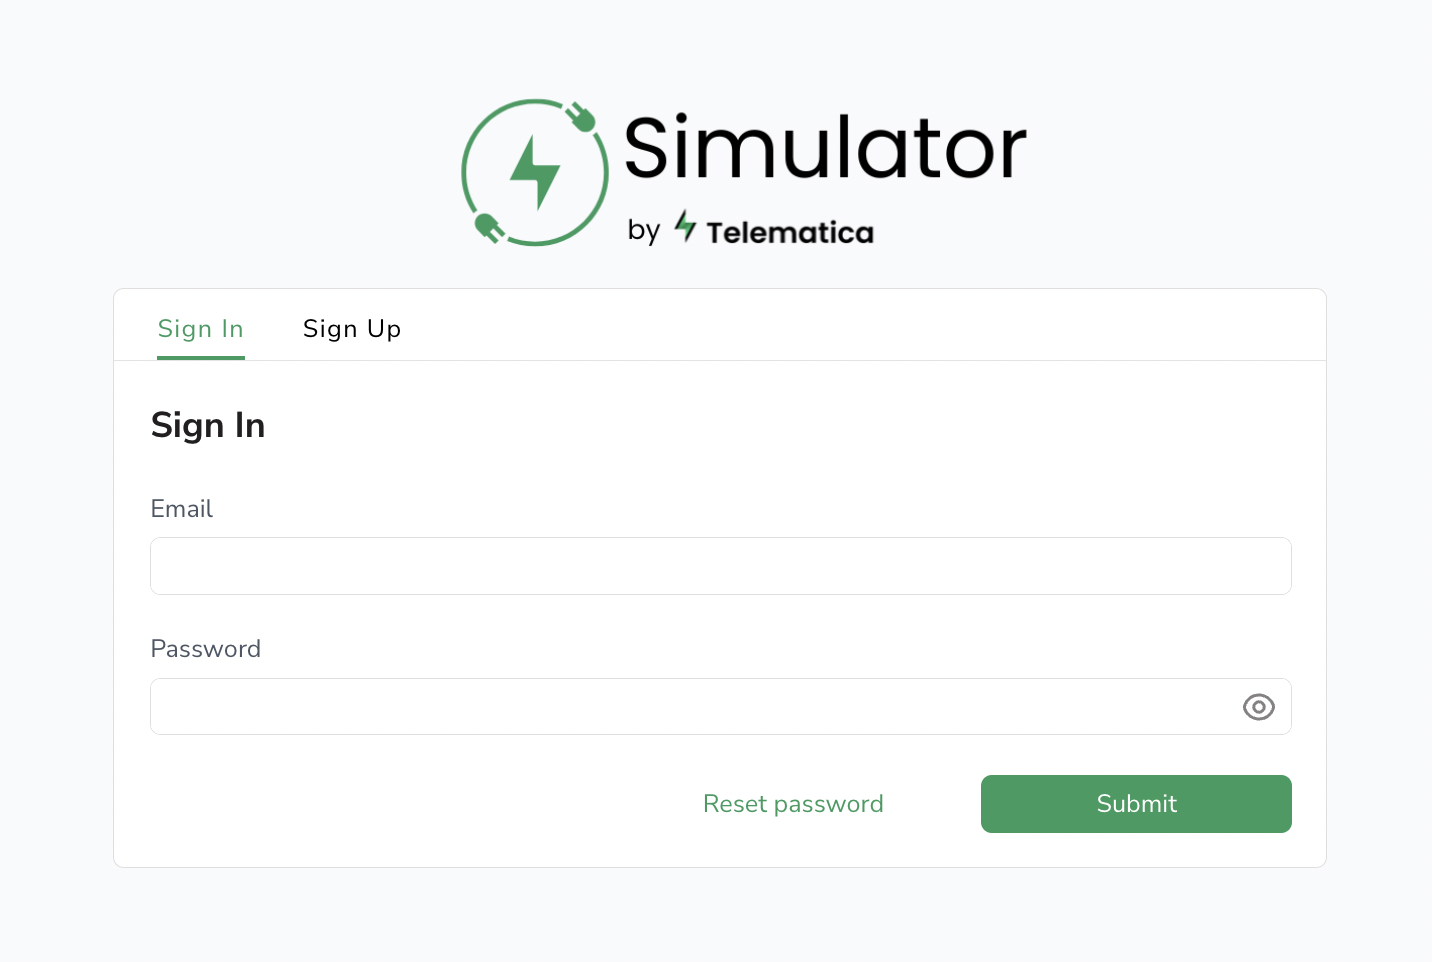
✅ Step 1: Create an Account on Telematica Simulator
To start exploring the capabilities of the Device Simulator, Start with creating an account on Telematica Simulator. Simply sign up with an email and password here.
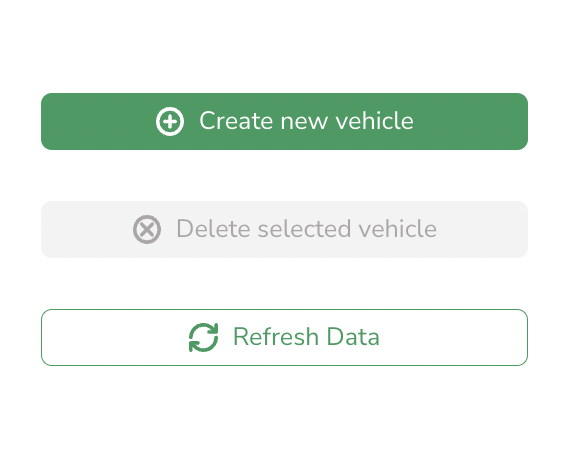
🚗 Step 2: Create Simulated Devices
Next, you can add the type of device you want to test by clicking on the "Create new device" button. This allows you to simulate and test various device types according to your needs.
💻 Step 3: Enabling Dev Mode in Connect UI
To enable the development mode, spin up a new Connect UI session, and append devMode=true in query params. Your URL should look like this:
🛠 Step 4: Connecting Your Simulated Device
On the "select-brand" page in the Connect UI, choose Telematica Simulator as the brand and enter the same email and password that you signed up with in Step 1. After logging in, you should be able to see the devices you created and connect them to your client.
🚀 Step 5: Testing APIs on Simulated Devices
Now comes the fun part! You can treat the simulated device as any other device in your backend. All the API endpoints will respond with the custom data, and react appropriately to commands. For example, calling Start charging will change isCharging to true.
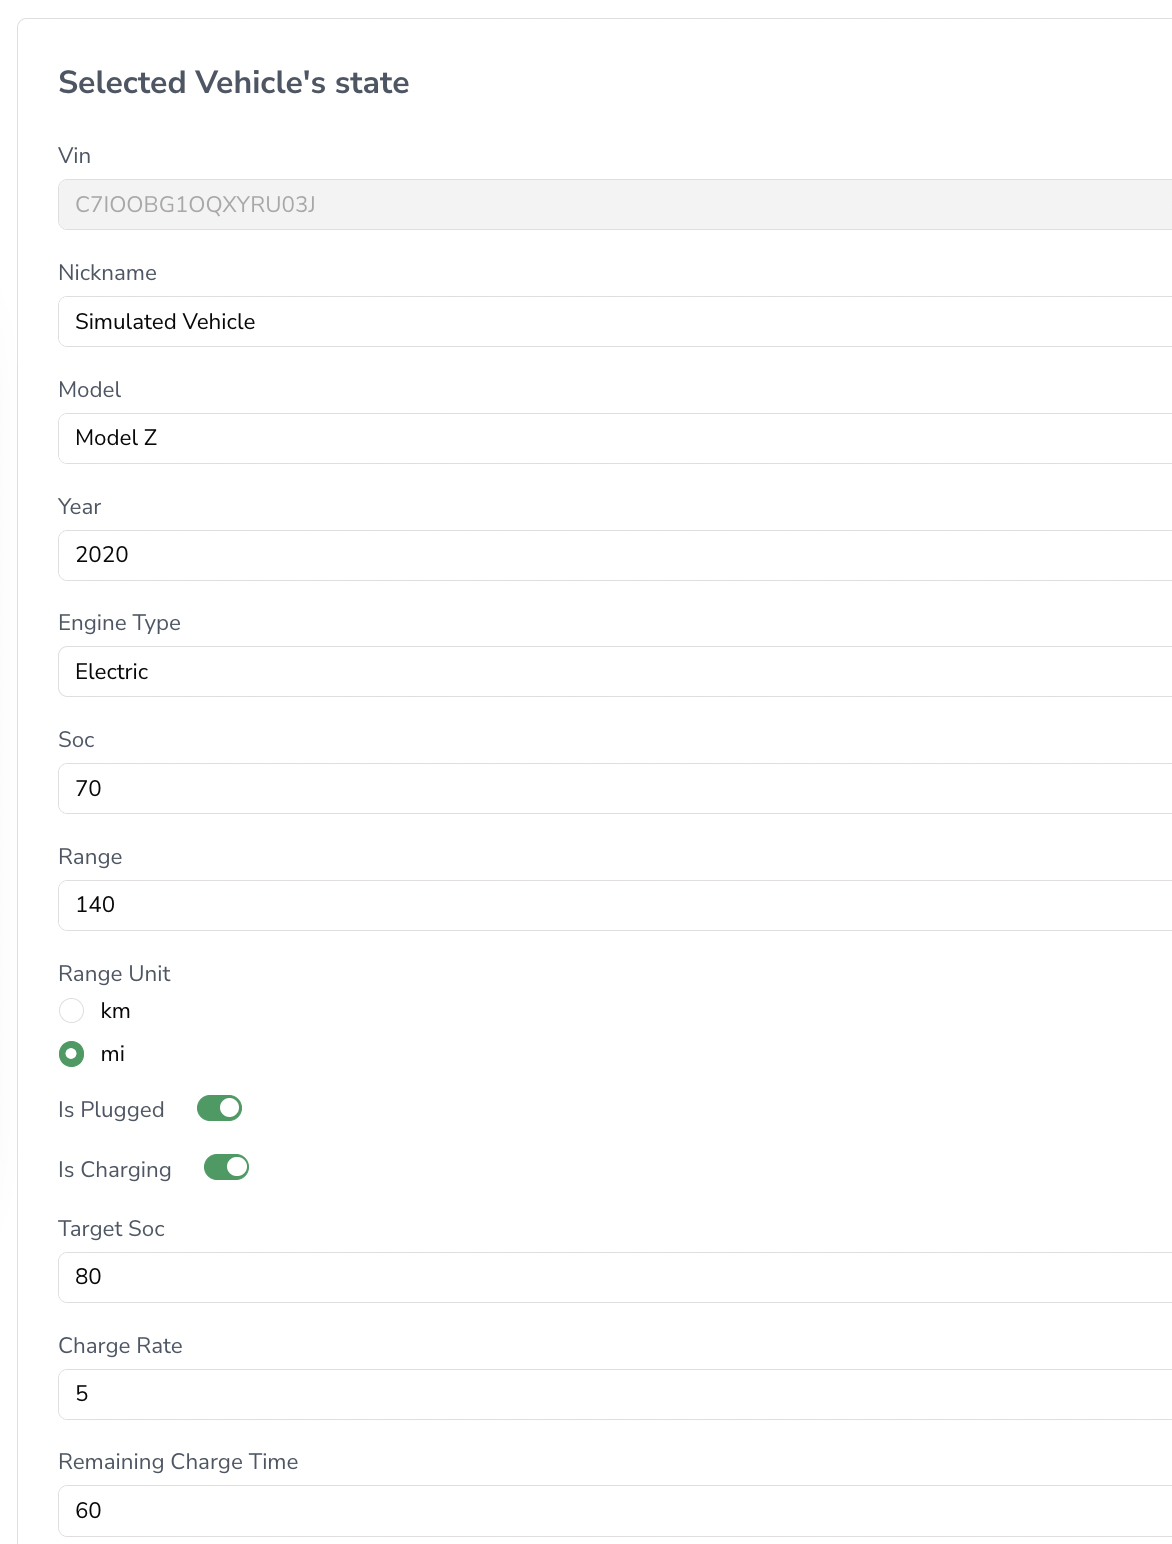
You can control what data the endpoints return for a device by going to the simulator, selecting the device in the device list, changing the state of the device, and clicking on the "Update" button at the bottom.
We encourage you to dive in and start simulating! The Device Simulator is a powerful tool that can help you thoroughly test your applications and services. Should you have any questions or need assistance, please don't hesitate to reach out to us. Happy simulating!
Discover how Telematica's API can transform your energy management strategies. Let's discuss your needs today.
